
If you’ve come this far, it’s because you’ve decided you want to try making a video game and you want to do it with Unity. In this my first Unity Tutorial I will show you, step by step how to install Unity and Visual Studio
Install Unity from the Unity Hub
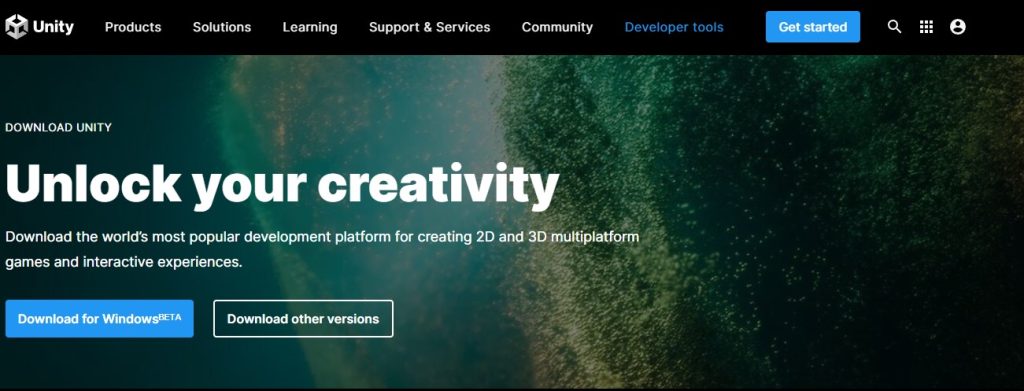
The first thing to do is to download the Unity Hub; here is the download link .
At this point you may be rightly asking yourself, “but what is the Unity Hub?”
Unity Hub
It is the software that basically allows us to:
– Manage our Unity Accounts and Editor Licenses.
– Downloading different versions of Unity
– Creating projects
So the Unity Hub is nothing more than a tool that allows us to download versions of Unity and manage our projects.
This Unity Tutorial on How to Install Unity and Visual Studio can therefore only start with Unity Hub.
Back to us, based on the operating system of the PC you are using select the otion best suited for you
While the download is going on, I would like to explain two financial aspects (but rest assured you will not have to pay anything). It seems strange to talk about money in this Unity Tutorial on How to Install Unity and Visual Studio, but as you know every software has its own license and we can’t help but devote a few lines about it.
How the unity license works
Click on the Get Started in the upper right-hand corner. You can see that three different subscription plans will open to you: Individual, Teams and Industrial. Follow the Individual heading and you can see before you the Student to Personal version, which are both free!
The Personal version will remain free as long as the turnover of your game is under €100,000.
In the future when you earn enough money you can upgrade to the Plus and/or Pro version, both of which contain an official version of Unity.

Back to the installation. It will open the Licence Agreement for you (trust me I have read it all, you will not sell your soul to any devil). Click next page and choose where to install it, personally I always opt for the main drive, C disk.
When the installation is finished, click on the Unity Hub launch icon and then on the item: finished.
Let’s explore Unity Hub

We are now facing the Unity Hub, what we need is a version of Unity. Remember, The Hub is just an interface that we will need for:
-Open and manage the different projects we will be doing in Unity
-Choosing and downloading different versions of Unity
Let’s proceed!!!
Click in the left panel the “Installs” item, to choose an installation select “Add”. We need to make sure we install the right version of Unity, choose the recommended one and click Next.
Remember that the acronym LTS stands for Long Time Support, which is why it pays to choose it. All other versions, although more modern, do not benefit from support in the long run.

As you can see, we can choose to add different supports; for now, since we are taking the first steps, let’s download only the bare minimum.
But there is one thing you may need. To create video games on Unity we will need an IDE. The Hub gives us the option to download MVSC 2019. Clearly, if you already have a preferred IDE, by all means omit this step; from Unity you can select your preferred IDE as the default editor.
You can also choose the platform on which your game will run. Windows is still valid but if you want to make an android app remember to select the android option.
Click Next and agree to terms and conditions.

We activate our Unity license
We now have both Unity and Visual studio installed; but there‘s still one more little thing we need to do before we open Unity and start with our first project. We need to get and activate our user license.
Click on the upper right on the setting icon, follow Licence Management. To generate a License Agreement, your Unity Hub must be connected to your Unity account. Go to the bottom, where it says “log in” and log into your Account; se don’t have one quickly create one, and be sure not to forget your username and password.
Once done we can go ahead and generate a License. Click on the “Activate new License” option. Here he skis “Unity Personal” (the free subscription plan seen earlier) and states that he “doesn’t want to use Unity professionally until I produce a good volume of games that will bring me big revenues.” You will see thatThe Hub has generated and activated our license.

Let’s create our first Unity project
It’s time to go back to the “Project” page (page that will open as the default when you open the Unity Hub). In the upper right corner, click on New. In this way we are going to create a new Unity project, we are creating our first game!
I can choose:
-Name
-Where to save it
-The Templates
Now, as for the choice of Templates, don’t worry. The choice between 2D or 3D mode will determine some Unity Editor settings, for example: whether images are to be imported as textures or sprites. Don’t worry you can always change between 2D or 3D mode whenever you want, regardless of how you initially create the project.
We select 2D and click create.

Let’s configure Unity to work with Microsoft Visual Studio
We have Unity open in front of us. There is one thing we need to do right away inside Unity: connect the IDE, which we have previously downloaded and installed, to Unity; so that it works properly with the program. There are some features inside the IDE that will help us when it comes time to write lines of code for our game, but in order for everything to work properly we need to connect Unity and our IDE.
Inside Unity we go to Edit > Preferences > External Tool
Here we need to select the tool we are going to use inside Unity. The first thing we want to do is to select an “External Script Editor” which will be our Visual Studio (which we just downloaded).
With that selected we need to click on “re-generate project files,” having done that we can close the page.

We need to make sure that this connection was successful; Follow me!!! Go to the Asset panel (bottom left), right click > create > C# Script (C# is the programming language we will use). Go ahead and leave the default name as the name, press enter and open the script with a nice double click. At this point Visual Studio will ask you to restart the computer.
Once the computer is turned back on, open the Unity Hub and consequently the project we were working on. Open the Script we had opened in the previous step
Now Visual Studio will ask you to sign in your microsoft account (if you don’t have one do it), choose a theme color and proceed. I strongly recommend that you choose a dark color, which, in addition to being very Matrix, reduces digital eye fatigue. Now click on “Start Visual Studio.”
Connect Visual Studio to your Microsoft Account. Having done this we need to be sure that in Visual Studio the Attached to Unity option is enabled; only then will we have a number of features that will facilitate the creation of our Scripts. Then click on Attached to Unity. If all has gone according to plan, the words Ready will appear; at this point Visual Studio is ready and we could use it to program our game (did you feel your heart skip a beat too? ).
Once on Unity we’ll get a Pop Up, click on “Enable Debugging for All projects” so we don’t have to do it every single time we use Unity
Conclusions
Today we installed Unity Hub, the IDE for Unity and Microsoft Visual Studio.
We also set it up so that we could start working on our projects.
All that is left for us to do is to unleash our ideas and start creating our first game.
